

Hey there! I'm a supplier of Kd Containers, and I know how important it is to have a proper cooling system in these containers. Whether you're using them as Site Office Flat Pack, Flat Pack Insulated Containers, or Portable Space Flat Pack Containers, a good cooling system can make a huge difference in comfort and functionality. In this blog, I'll walk you through the steps of installing a cooling system in a Kd Container.
Step 1: Assess Your Needs
Before you start the installation process, you need to figure out what kind of cooling system you need. There are a few factors to consider:
- Size of the Container: The larger the container, the more powerful the cooling system you'll need. Measure the length, width, and height of your container to calculate its volume.
- Intended Use: If you're using the container as an office, you'll need a different level of cooling compared to a storage area. Consider the number of people who will be in the container and the heat-generating equipment.
- Climate: The climate in your area plays a big role in determining the cooling capacity. If you're in a hot and humid region, you'll need a more robust system.
Step 2: Choose the Right Cooling System
Once you've assessed your needs, it's time to choose the right cooling system. There are several options available:
- Window Air Conditioners: These are a popular choice for smaller containers. They're relatively easy to install and can provide sufficient cooling for a small space.
- Split Air Conditioners: Split systems consist of an indoor unit and an outdoor unit. They're more efficient and can cool larger areas. They're also quieter than window units.
- Portable Air Conditioners: Portable units are convenient and can be moved around as needed. However, they may not be as powerful as window or split systems.
Step 3: Gather the Tools and Materials
Before you start the installation, make sure you have all the necessary tools and materials. Here's a list of what you'll need:
- Cooling System: Choose the cooling system that suits your needs.
- Mounting Bracket: If you're installing a window or split air conditioner, you'll need a mounting bracket.
- Screwdriver: You'll need a screwdriver to install the mounting bracket and secure the cooling system.
- Drill: A drill will be useful for making holes in the container for the mounting bracket and the refrigerant lines.
- Refrigerant Lines: These are used to connect the indoor and outdoor units of a split air conditioner.
- Drainage Hose: A drainage hose is needed to remove the condensate from the cooling system.
- Sealant: Sealant is used to seal the holes and gaps around the cooling system to prevent air leakage.
Step 4: Prepare the Container
Before you install the cooling system, you need to prepare the container. Here are the steps:
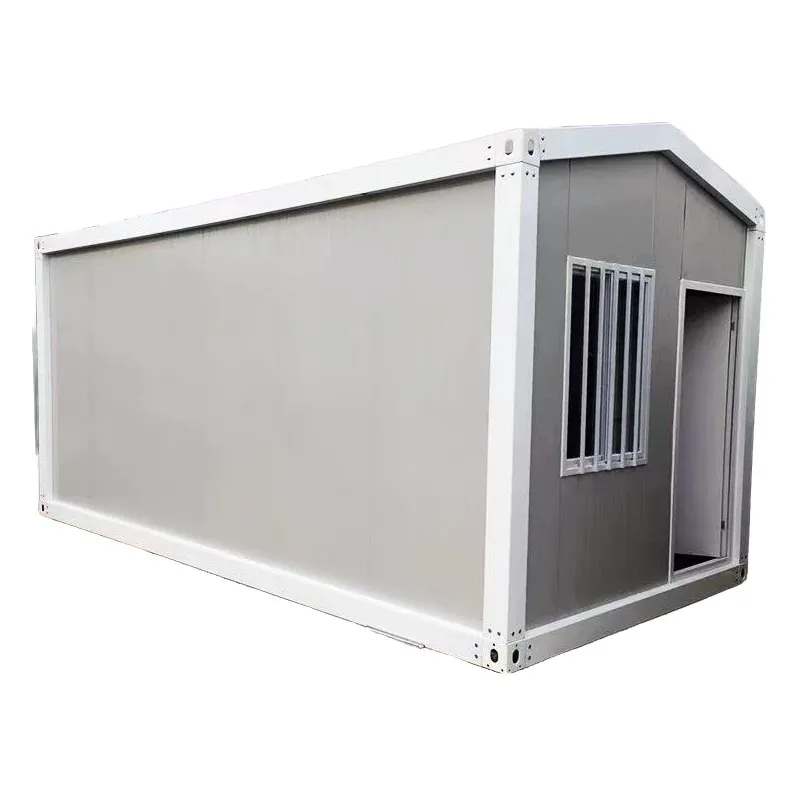

- Choose the Location: Select a suitable location for the cooling system. Make sure it's close to an electrical outlet and has enough space for the unit.
- Cut the Hole: If you're installing a window air conditioner, you'll need to cut a hole in the container wall. Use a jigsaw to cut the hole according to the dimensions of the unit.
- Install the Mounting Bracket: If you're installing a split air conditioner, install the mounting bracket on the container wall. Make sure it's level and secure.
Step 5: Install the Cooling System
Now it's time to install the cooling system. Here's how:
- Window Air Conditioner: Place the window air conditioner in the hole you cut in the container wall. Secure it with the mounting bracket and screws. Connect the electrical cord to an outlet.
- Split Air Conditioner: Install the indoor unit on the mounting bracket. Connect the refrigerant lines and the drainage hose to the indoor unit. Install the outdoor unit outside the container. Connect the refrigerant lines and the electrical cord to the outdoor unit.
- Portable Air Conditioner: Place the portable air conditioner in the container. Connect the exhaust hose to a window or vent. Connect the electrical cord to an outlet.
Step 6: Test the Cooling System
Once the cooling system is installed, it's time to test it. Turn on the unit and check if it's cooling the container properly. Make sure there are no leaks in the refrigerant lines or the drainage hose.
Step 7: Maintain the Cooling System
To ensure the longevity and efficiency of your cooling system, it's important to maintain it regularly. Here are some tips:
- Clean the Filters: Clean the air filters regularly to remove dust and debris. This will improve the air quality and the efficiency of the cooling system.
- Check the Refrigerant Levels: If you have a split air conditioner, check the refrigerant levels regularly. Low refrigerant levels can affect the performance of the system.
- Inspect the Unit: Inspect the cooling system regularly for any signs of damage or wear. Replace any damaged parts immediately.
Conclusion
Installing a cooling system in a Kd Container is not as difficult as it may seem. By following these steps, you can ensure that your container is cool and comfortable. If you have any questions or need help with the installation process, don't hesitate to contact us. We're here to help you make the right choice for your container. Whether you're looking for a Site Office Flat Pack, Flat Pack Insulated Containers, or Portable Space Flat Pack Containers, we have the expertise and the products to meet your needs. Reach out to us today to discuss your requirements and start the procurement process.
References
- HVAC Installation Guide for Containers
- Air Conditioning Manufacturer's Manuals